
Have you joined in the Retro Flowers QAL over at Sweet Deisel Designs and City Stitches??? Bianca and Megan are hosting a fab quilt along using Christina's Retro Flower pattern It's a lot of fun and there is also an active and inspiring flickr group.
This week Megan is walking everyone through sewing curves. She's doing it by machine, but I think when it comes to making curves easy, doing it by hand is the way to go. There's less worry about stretching your bias edges, no fiddling with your presser foot and really, it's quicker than you think. Because this isn't my pattern, I won't be giving any measurements or templates. I'll just show you how I hand piece the block.
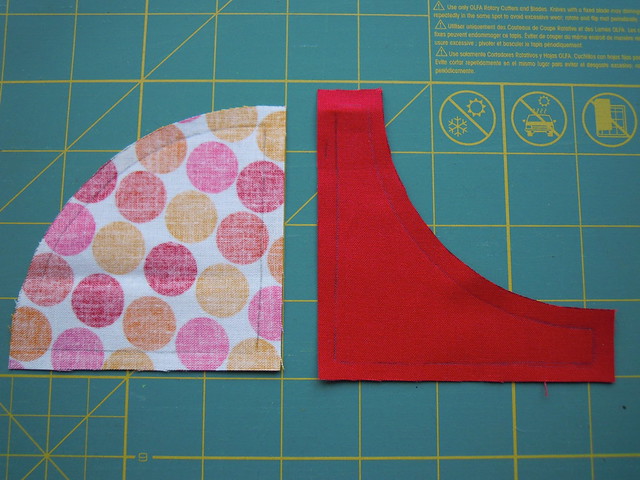
Start out by tracing your pieces, just like you would for machine piecing. So use either the templates or freezer paper. Then, for hand piecing you also need to a make a set of paper templates with the seam allowances cut off, so you can mark your sewing line. I just trace with a pencil around the template. Easy peasy.

Here's what it looks like.
Next, I mark the center of my pieces, along my sewing line, just fold and finger press.
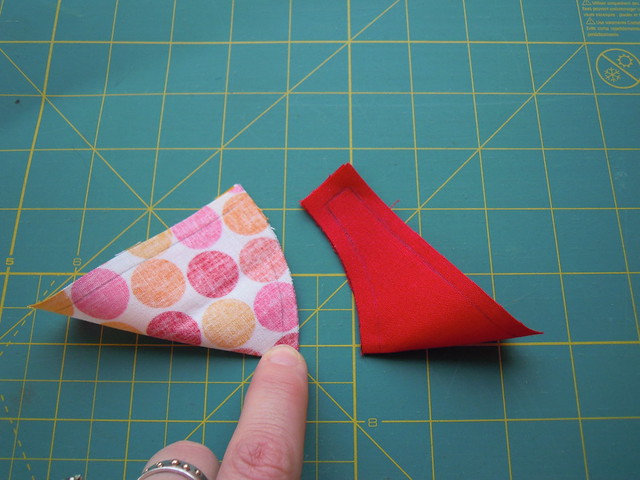
I like to mark the fold with a small pen mark just to make it more visible.
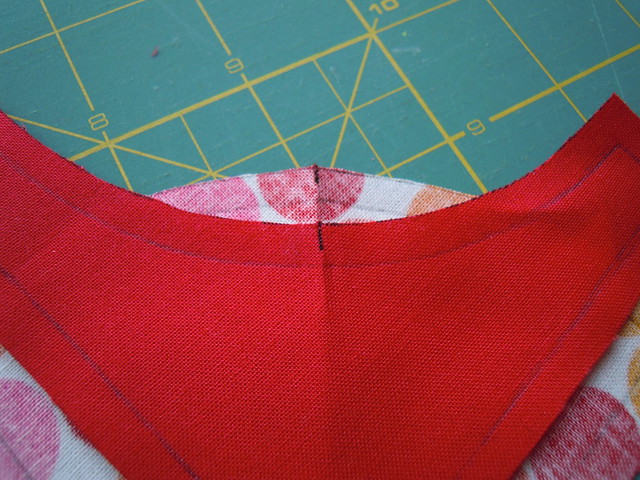
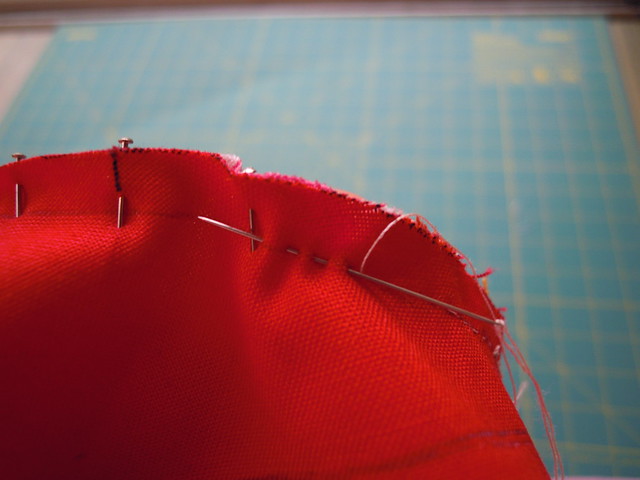
Now start pinning. I pin the middle first, then the two ends.

Now pin in between, making sure to evenly space everything out.
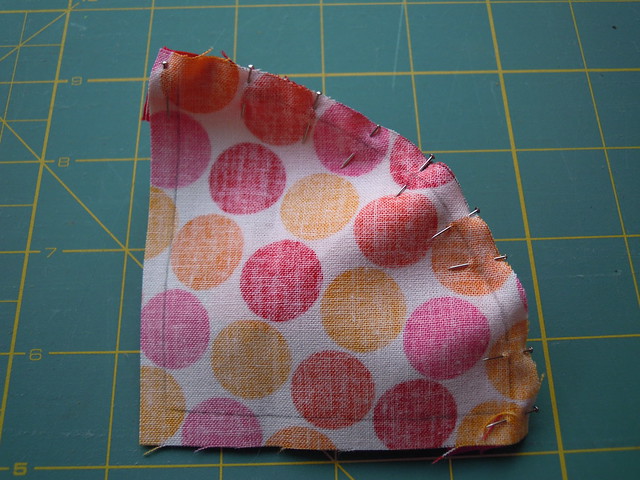
The other side should look like this. I like to use applique pins when hand piecing, they are a half inch long, so they are much less likely to get caught in my thread and annoy me.
I like to mark the fold with a small pen mark just to make it more visible.
Now start pinning. I pin the middle first, then the two ends.
Now pin in between, making sure to evenly space everything out.
The other side should look like this. I like to use applique pins when hand piecing, they are a half inch long, so they are much less likely to get caught in my thread and annoy me.
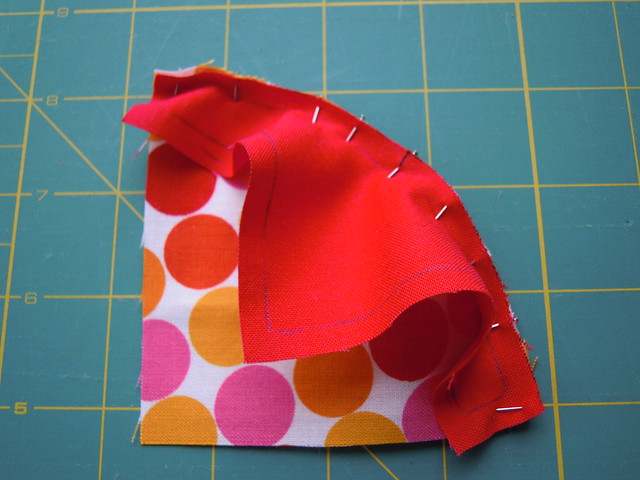
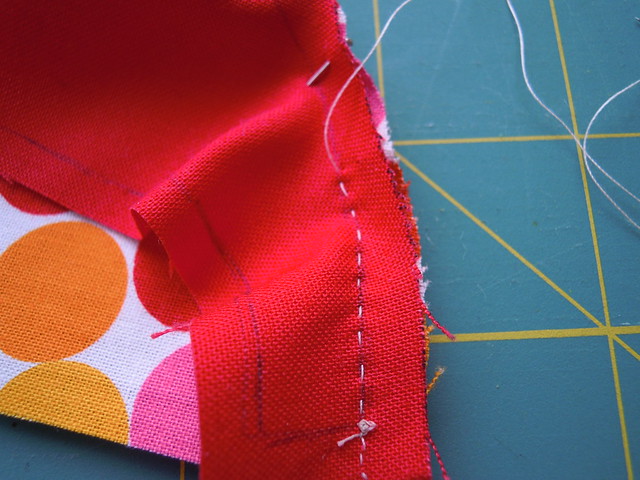
Now it's time to start sewing. I start my seam right in the corner.
Flip over to make sure the needle is coming out right in the corner of the other side.

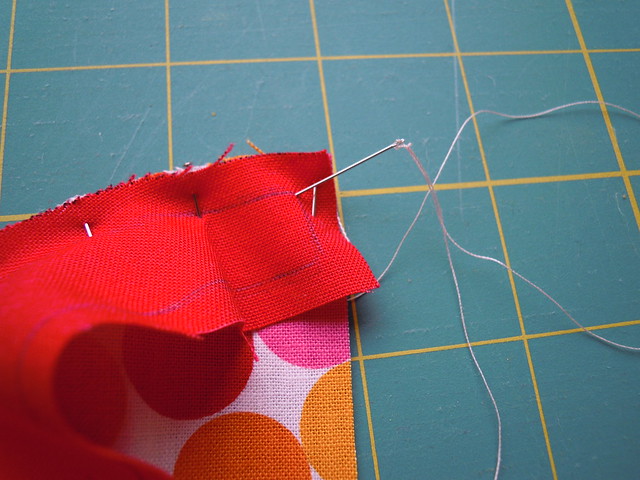
Using tiny running stitches, start sewing toward the right edge of your project (towards to seam allowance) I know it seems like you're going to wrong way, but this is just to make sure your stitching doesn't come undone. Once you've gone to the edge, turn around and start sewing to the left!
After a few stitches, it will look like this.
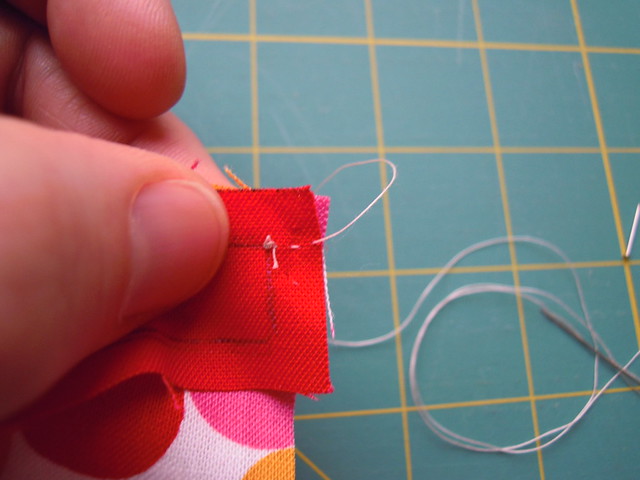
Don't think you can only do one stitch at a time. Holy time consuming!! Stack a few on your needle before pushing them through. Just make sure you are sewing right on your marked sewing line.
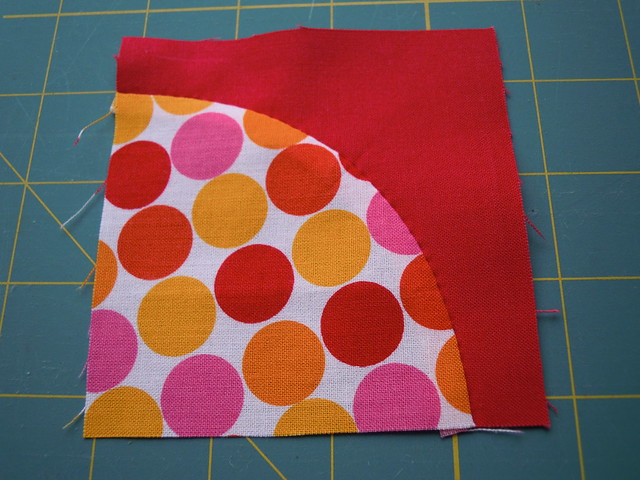
Continue all the way along until you reach the other end. It took me all of about a minute and a half to get there. Seriously. Once you get to the end, do a couple of back stitches, so your stitching doesn't come undone. Here is the first piece all stitched up.
Before pressing.
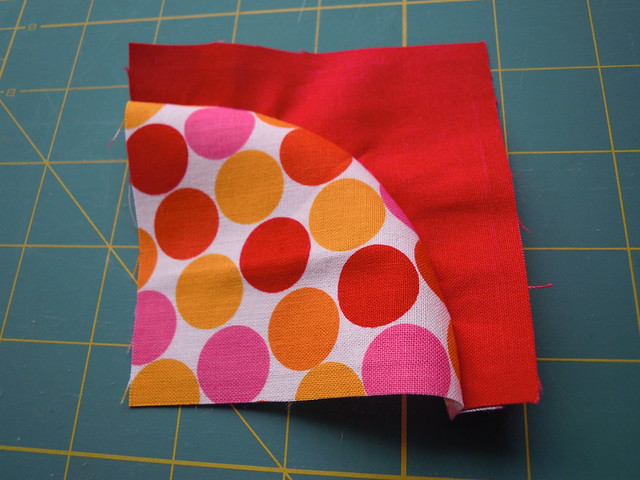
After pressing, no squaring up required!
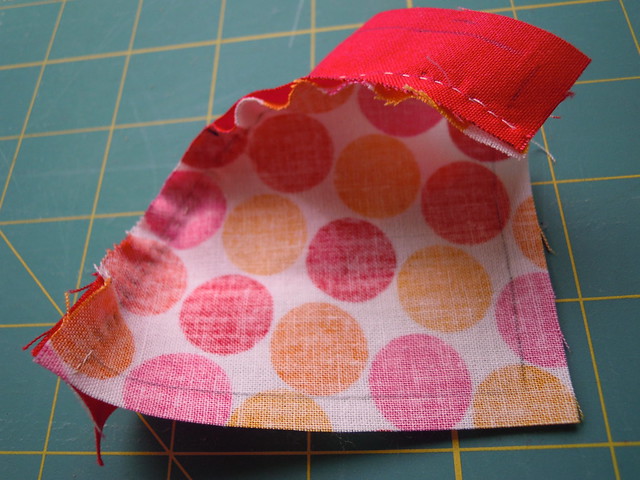
The back. Now make two more of these units, in the very same way, plus one of the square units. You have the pattern, you know which one I mean :-)

My four units ready to be pieced into a petal.
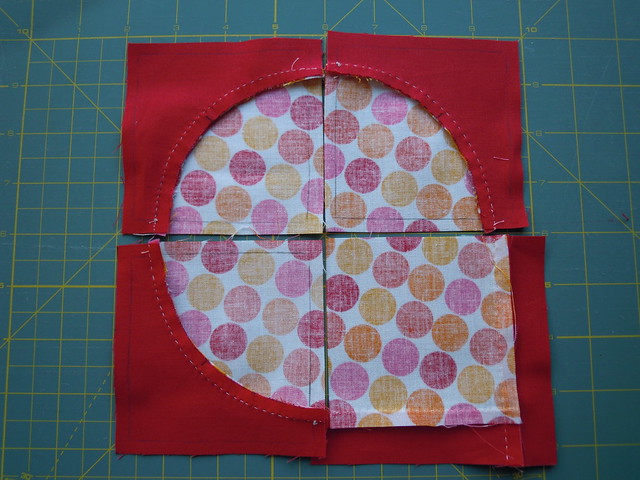
The back of my petal all pieced. Are you ready for the front?

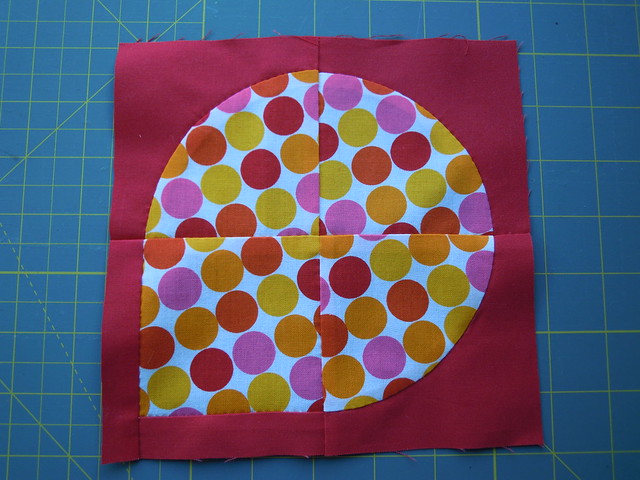
TaDaaaaa! There you have a hand pieced petal for the retro flowers quilt.
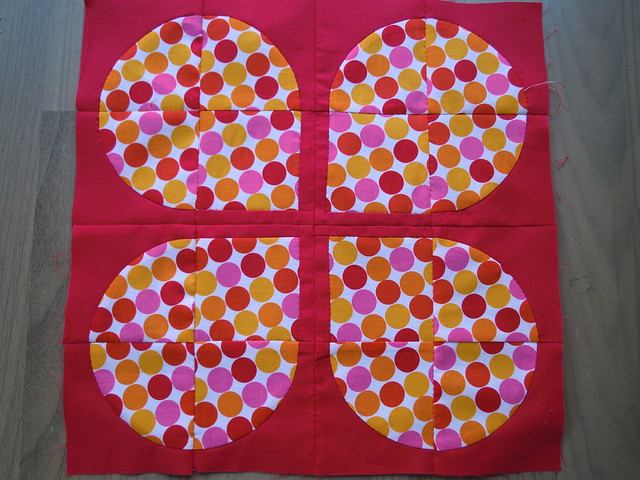
Here's the completed block.
The back. You can see I hand pieced it all, but that was just for this tutorial. In reality, I'd just hand piece the curves and use my machine to sew the four petals together. Don't worry, the quilt police will not come looking for you because you've mixed hand and machine piecing in the same block!

Keeping with the all the handwork that already went into the block, I hand quilted it with embroidery thread.
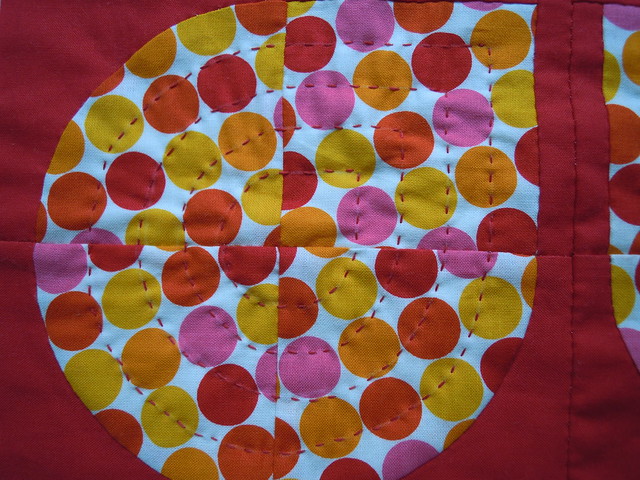
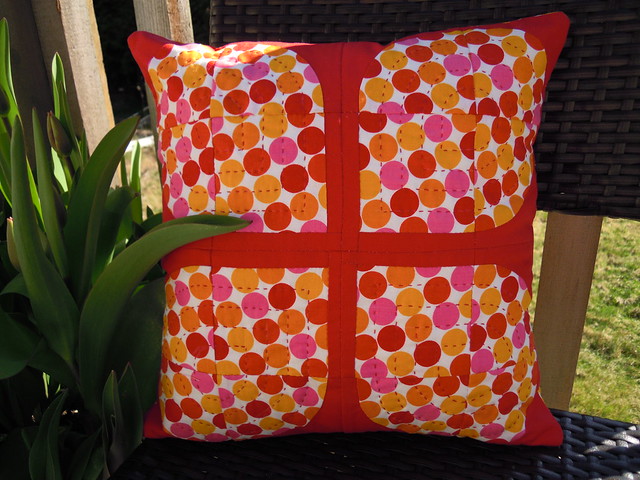
Here's my block made up into a pillow cover.
Overall, it didn't take that much time. Taking the pictures and writing the tutorial took wayyyyyy longer. I like to do hand work, whether it's piecing, applique or quilting. I can't sit and do nothing, so I like a portable project to take along to swimming lessons, hockey practice, doctor's offices, the DMV, pretty much anywhere that I'm going to be sitting with nothing to do but wait.
TaDaaaaa! There you have a hand pieced petal for the retro flowers quilt.
Here's the completed block.
The back. You can see I hand pieced it all, but that was just for this tutorial. In reality, I'd just hand piece the curves and use my machine to sew the four petals together. Don't worry, the quilt police will not come looking for you because you've mixed hand and machine piecing in the same block!
Keeping with the all the handwork that already went into the block, I hand quilted it with embroidery thread.
Here's my block made up into a pillow cover.
Overall, it didn't take that much time. Taking the pictures and writing the tutorial took wayyyyyy longer. I like to do hand work, whether it's piecing, applique or quilting. I can't sit and do nothing, so I like a portable project to take along to swimming lessons, hockey practice, doctor's offices, the DMV, pretty much anywhere that I'm going to be sitting with nothing to do but wait.
Give hand piecing a try, I find that for curves, there is nothing easier!!


Gorgeous Katie, I just love the hand quilting.
ReplyDeleteKristin
Darling pillow! Thanks for the tutorial. Love your hand stitching!
ReplyDeleteLove the bright & happy finished product :)
ReplyDeleteI wish I could do more handwork, but it really aggrevates my carpal tunnel...wow, I sound old! lol
Katie, it's just gorgeous!
ReplyDeleteI would have never thought of doing this by hand, but you're brilliant - it would almost be easier! Next time I have a long car trip I will definitely be doing this!
Very good. I have some of those tiny pins that I use for small fiddly doll pattern pieces. I didn't realize they were for applique...ooops:) I love love hand sewing. I find it very relaxing.
ReplyDeleteyou have beautiful even stitches -- so say the photos you took!
ReplyDeleteGreat, I'm into curves myself. LOL
ReplyDeleteI hope to have a chance to do some handpiecing this summer out on the lawn, thank you for all the pointers.
ReplyDeleteWow that's awesome. Thanks for sharing this! I've never done hand piecing. And your cushion....gorgeous! Love the fabrics.
ReplyDeleteGirl this is amazing! Thanks for sharing on how to piece this block by hand!!
ReplyDeleteKatie, you have a gift for tutorial writing. You make everything look so incredibly doable that I think I actually can!
ReplyDeleteWonderful pillow and I am impressed with taking doing some handpiecing whereever you are.. Maybe I should think of that ;-))
ReplyDeleteVery patient and careful work ! So few people want to take that kind of time any more. congratulations to you!!
ReplyDeleteWow it looks amazing! Can't believe you hand pieced it all! =D
ReplyDeleteOhhhhhhhh this is just soooooooooo cute
ReplyDeletelovely colours - and I love the modified drunkard's path pattern. I'll have to try it. :)
ReplyDeleteLove your tutorial and cushion, Katie! I always have a hand piecing project with me too so I may just give this a try.
ReplyDeleteGorgeous pillow. Lovely tutorial. I've never made a hand sewn drunkard's path but I think i'm gonna try it.
ReplyDeleteNice tutorial. I concur with hand-piecing on the go, although that nets me even more incredible comments than knitting ....
ReplyDeleteLove it! Must try one day soon!
ReplyDeleteWow! This is awesome. Just might have to give this a try! Thanks!
ReplyDelete