

If you're like me, you love giving gift cards. As long as they're from the right store, they're always the perfect fit. When I give a gift card, it's because I thought the recipient would prefer to choose their own gift. Do I really want to impose my fashion sense on my 17 year old nephew? Or do I want him to choose something he'll actually wear. Same goes for great-aunt Millie. Do I want to give her a sleek modern French press? Or would she rather choose her own chintz tea pot? But, just because I like giving a gift card, doesn't mean I like looking like I took the easy way out, so for the past couple of years I've been making gift card wallets. They are sturdy, reusable, and best of all, they make up in a hurry! Here's how you can make your own for all your holiday gift card giving.
supplies:
2 pieces co-ordinating fabric cut to 4 3/4" x 7 1/2"
1 piece interfacing cut to 4 1/2" x 7 1/4"
(I used Pellon 809 decorbond)
snap & attacher
snap & attacher
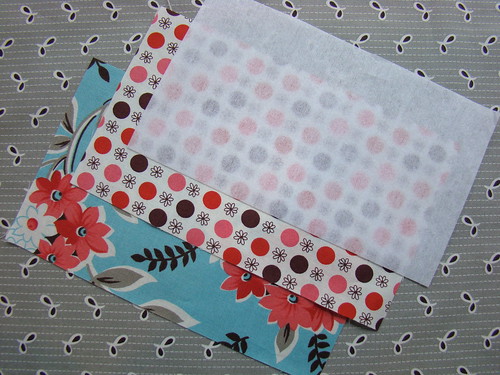
Iron the interfacing onto the wrong side of the fabric piece that will be your exterior.
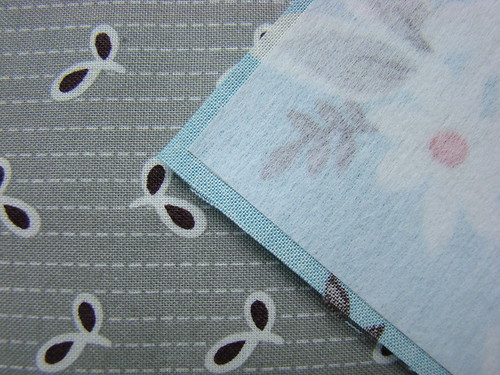
Layer your fabric pieces right sides together and sew with a 1/4" seam around the outer edges, leaving a 3" gap, for turning, on one of the long sides. Be sure to backstitch when starting and ending.

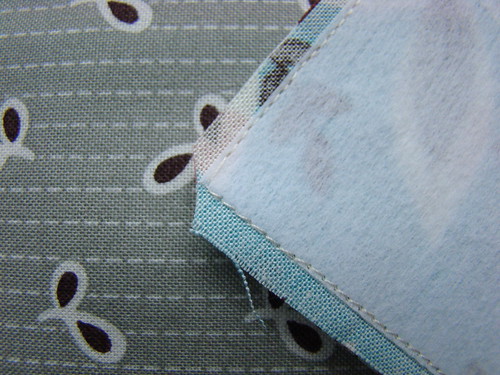
To reduce bulk in the corners, I always trim the corners off.
Turn right side out. I use a size G/4 mm crochet hook to poke out the corners. A pencil also works well.
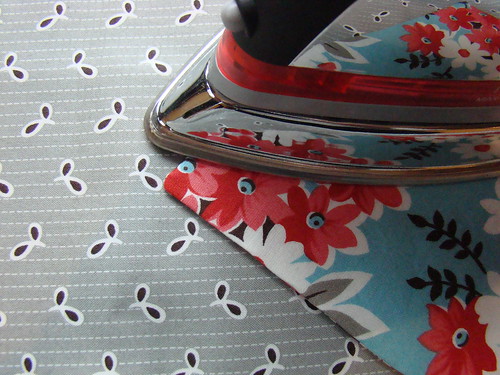
Press. Be sure to fold in the open part of the seam allowance.
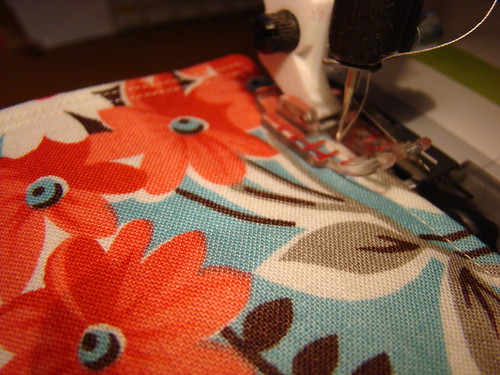
Top stitch all the way around. I usually do two rows of stitching. One right next to the edge and the next quite close to it. You want them both the be less than 1/4" from the edge, or the gift cards will be wedged in there quite tight.
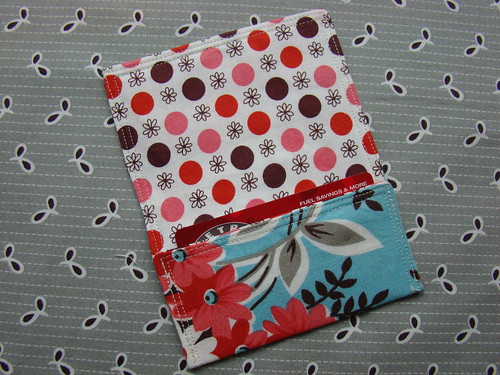
Using a gift card as your guide, decide where to make your folds. You may want the card to peek out, or you might like it hidden. Once you've decided where to fold; press and following the outer line of topstitching, stitch. (If you click on the picture, you'll be able to see it larger, and you can just make out the row of stitching on top of the topstitching)
Attach your snaps following the instructions on the package.

Fold over the top piece. Press.
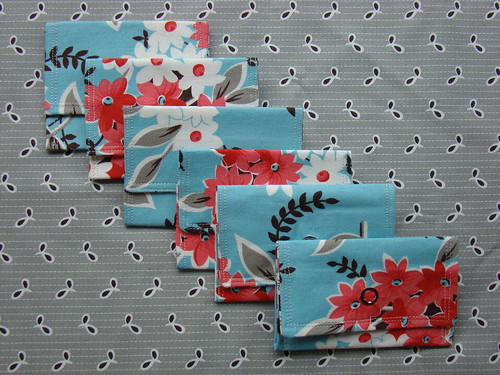
You now have a quick, easy gift card wallet, ready for holiday gifting. Enjoy!

Such a great tutorial and a fun idea too!
ReplyDeleteSuper fun Katie! I'm going to try these out for sure.
ReplyDeleteThese are a great idea! Thanks for sharing the tutorial. :)
ReplyDeleteThanks for the tuto... love this!
ReplyDeleteLove it, Katie! That Flea Market Fancy print looks so perfect too...
ReplyDeleteWhat a great idea! Thanks! I'll have to keep this idea in mind - it certainly "dresses up" the gift card, which is, as you say, often the perfect gift!
ReplyDeleteThese are super cute Katie! I usually just go the lazy route and put gift cards in a card, but these little cuties are totally do-able. Thanks for the inspiration!
ReplyDeleteSuper cute project - it could be used as a business card holder once you spend the gift card!
ReplyDeleteSuper cute Katie - I love the double row top stitching detail. Thank you for being the first entry in the Handmade with Love contest :) xo Kathy
ReplyDeleteThese are awesome! Thank you for the tutorial! I just stitched up 5 of them in a couple of hours. Much more personal than just wrapping- and reusable, too!
ReplyDeleteOLÁ,
ReplyDeleteAMEI ESSAS CARTEIRAS, ÓTIMAS PARA PRESENTEAR AMIGAS.
BJS!
www.karendisley.blogspot.com.br