

I've always loved handwork, and that includes English paper piecing, hexagons in particular. There's just something about the versatility of the shape that draws me in. When I first started making hexagons, I pretty much figured them out on my own, as there really wasn't much out there in the way of online tutorials. Actually back in 1999 when I made my first hexagons, there weren't many online tutorials for anything. It's funny to look back to just a few years ago and see how far we've come. Yay technology!
This week I'll show how I cut and sew my shapes to get them ready to applique to my backing. Next week I'll show how I invisibly hand applique them. Don't be afraid of hand applique! It's really easy, and like other handwork, it's portable, so it makes waiting at appointments, sports practices and in the carpool line that much more bearable.
Here we go!
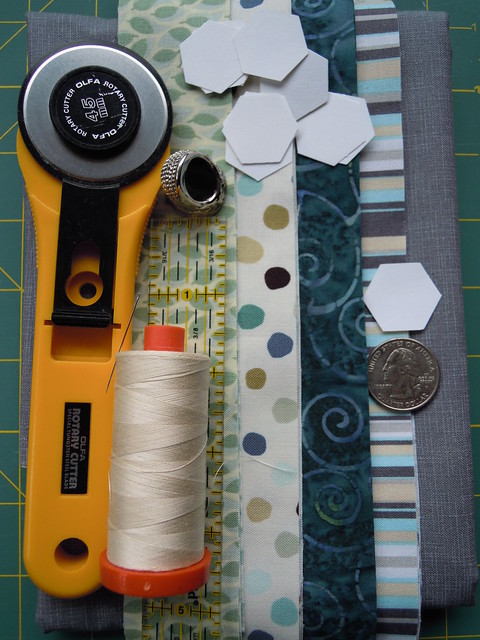
Like any project, your first step is to gather your supplies. I've got backing fabric (which I actually don't need yet) fabric for the hexagons, the hexagon papers*, a rotary cutter, small ruler, thimble, basting thread and a thin needle.
*I know there are various sources for printing off your own hexagons, but I always buy mine. They are made of heavier paper that can be reused several times. I'd much rather spend a couple of dollars on a pack of pre-cut shapes than waste valuable sewing time cutting them out.
One more note, my hexagons are 1/2", meaning each side measures 1/2". If this is your fist hexagon project or you are new to handwork, start with larger ones, it will be much easier if you aren't used to fiddling with tiny pieces. I put a quarter in the picture so you could see just how little they are.
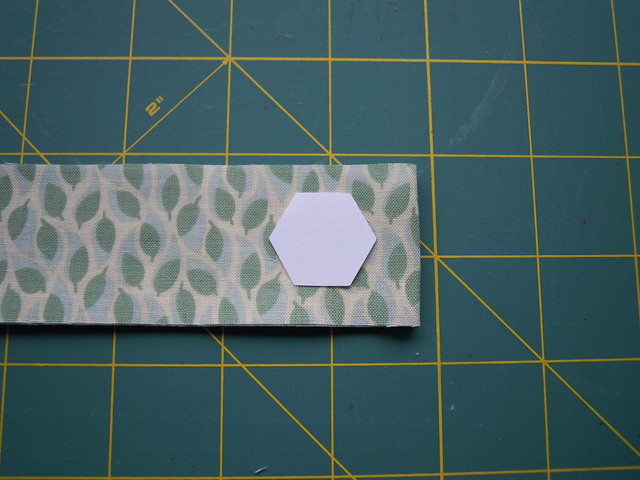
Your next step is to cut your fabric strips. You'll need to cut them a generous 1/2" wider than you hexagons.
About like this
About like this
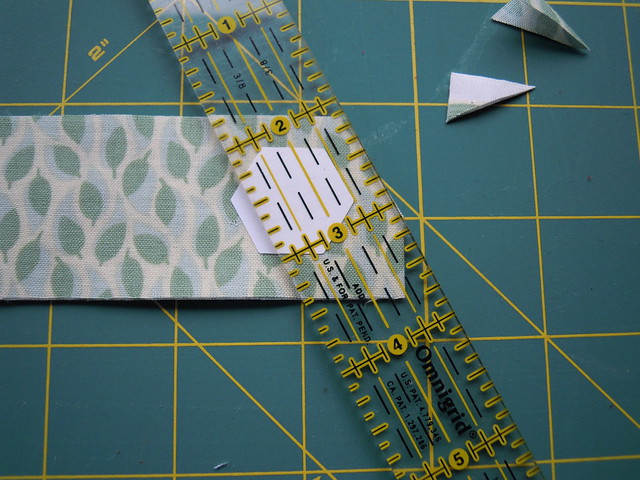
Next is the actual cutting, I line up my ruler so that it's just past the 1/4" line. I don't want to short myself. I fold my strip a couple of times, so I cut 4 hexagons at once.
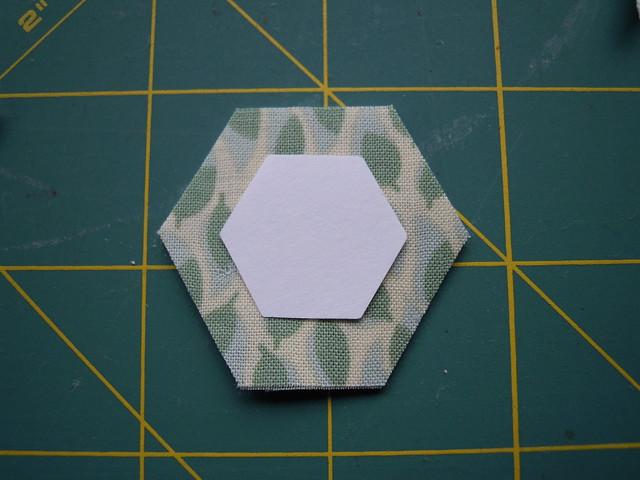
Here is what your cut shapes should look like once they are cut out.
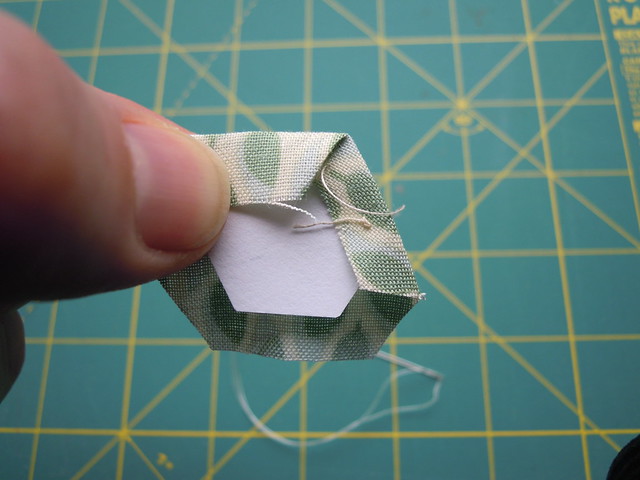
Now you're onto sewing. You really do need a thimble for this step as you'll be pushing the needle through cardstock. I've done it a few times without a thimble and it hurts (!!!!) when that needle pokes back into your finger a few times. So- make sure the paper is on the wrong side of the fabric and fold the top edge down onto the paper. Finger press it well. I think half the success of these little blocks is related to good finger pressing! Now take your threaded needle and go in near the corner (if you're right handed start on the right side, lefties start on the left) coming out on the front side of the fabric. Then travel across to go back in near the left corner. You should now be back on the paper side of the fabric.

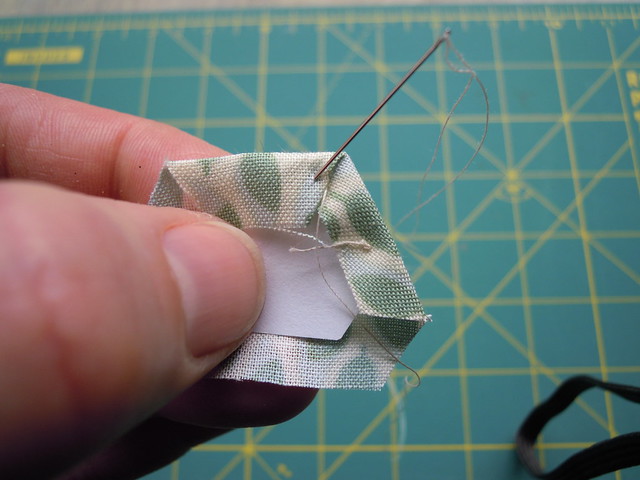
Turn your hexagon clockwise so you can work on the next side. Fold down the seam allowance and give it a good finger press.
Your needle and thread are already on the paper side, so go over and stitch the fabric you just folded. Do it the same way you did the first bit. In near the corner, out the front and back through near the other corner. You can just see where the thread has come from the front, so you're only moving your needle over a fraction of an inch to catch the fabric for the next side.
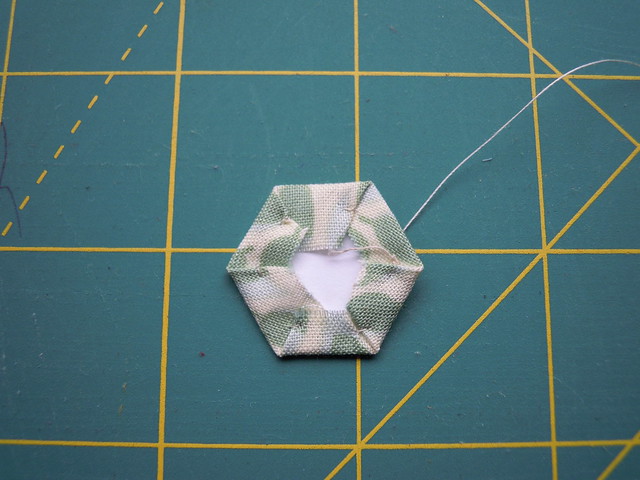
Continue stitching all around the hexagon in the same manner until you're done. The paper side will look like this
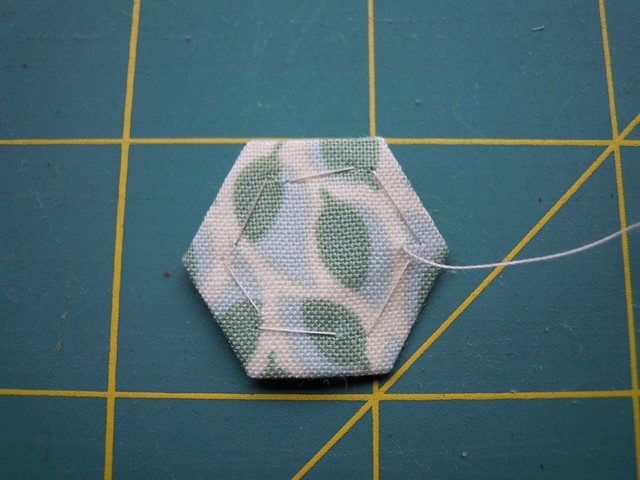
and the front side will look like this. Yay, you've made your very first hexagon. Now make 4000 more. I'll wait.......
I'm kidding, you only need 7 to make a simple flower :-)
I'm kidding, you only need 7 to make a simple flower :-)
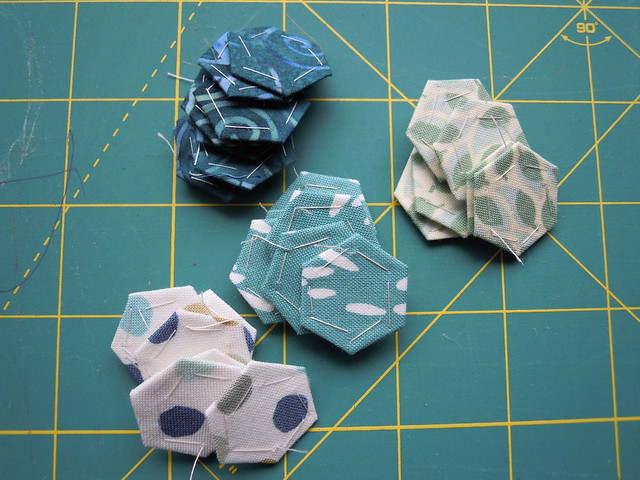
I made a handful, out of 4 co-ordinating fabrics, which will give me enough to play with some different layouts.
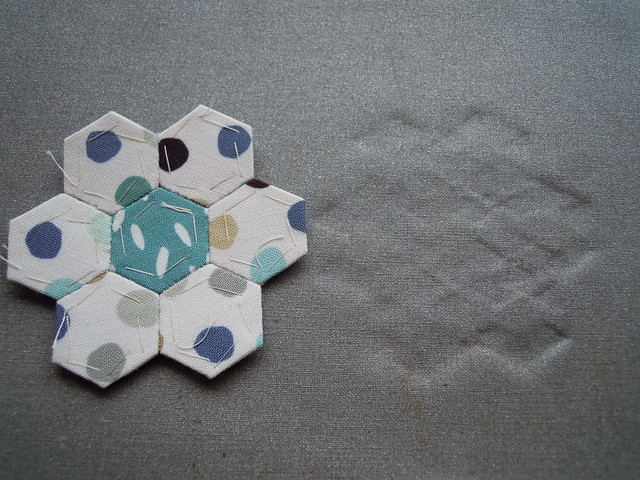
Flower

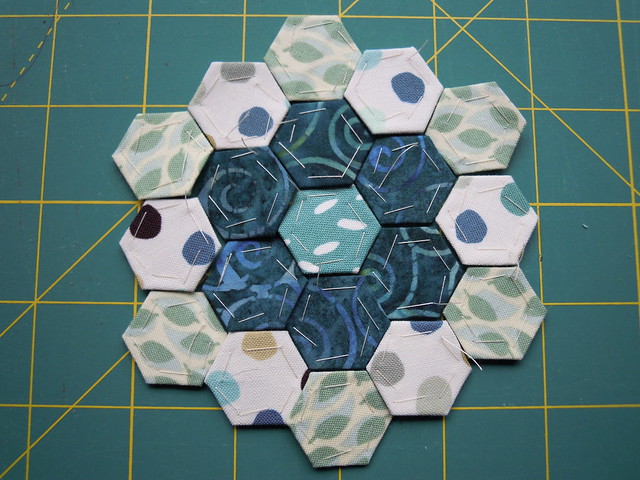
Double Flower
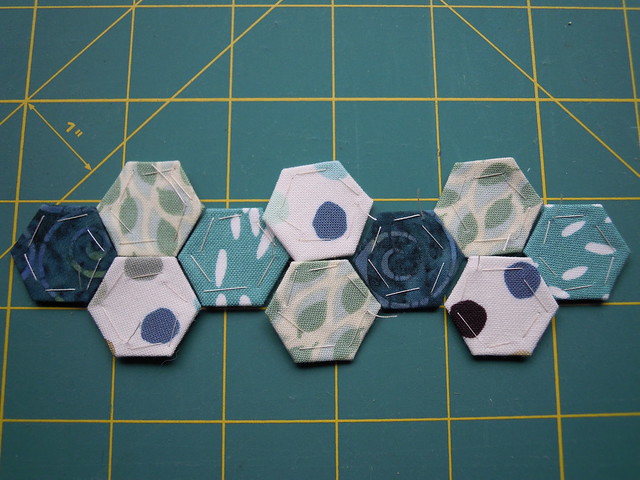
You don't have to do flowers, you can do bands or blocks too!
Bands
Bands
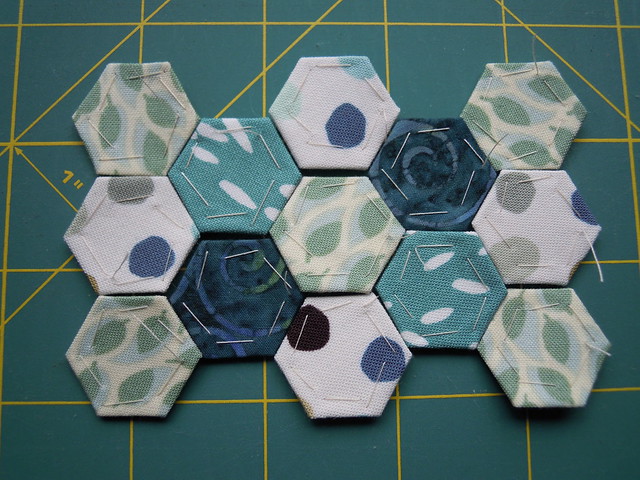
Block
Once you've decided on your layout, you're ready to stitch! I'm going to assume you're making a flower. So, start by getting your center and one petal.
Line them up with right sides together.
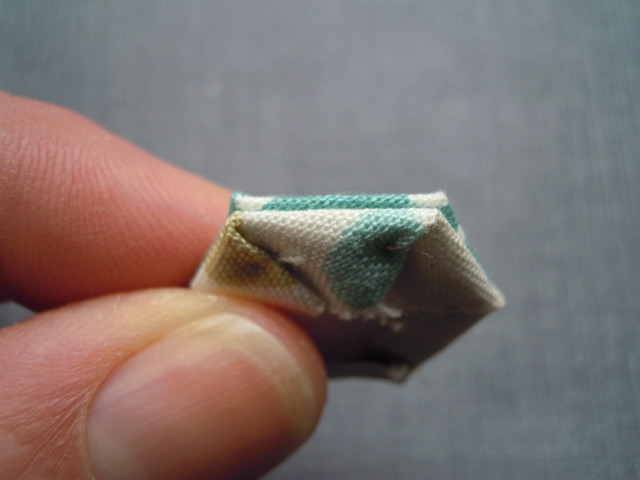
Insert your threaded needle on the right side (if you're a righty) about 1/8" away from the right corner. You just want to catch a few threads and not actually sew through the paper. This is where heavier paper makes it easier, because you can feel it with the needle.

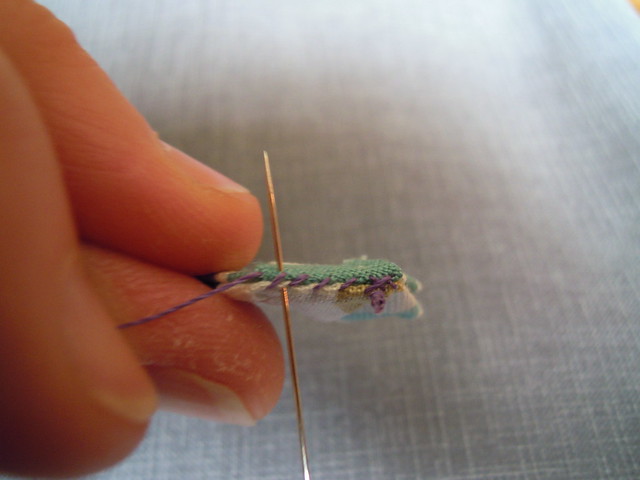
I'm using contrasting thread to make it easier to see the stitches, but you'll want to use something that blends. Take a couple of stitches towards the right side. I always stitch towards the short edge first then sew back over top. I don't know if it helps keep my stitching together or not, but I do it every single time as a precaution.
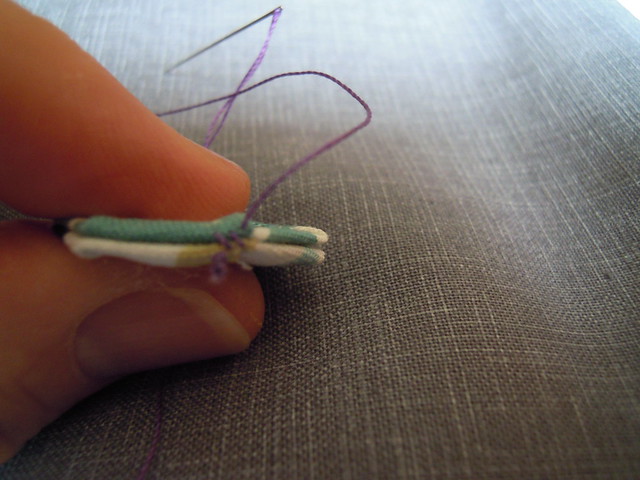
Once you've taken a couple of stitches and you're at the far right side, it's time to go to the left. Taking the same little stitches, head to the left, continuing to the end of the side. I usually do a bit of a backstitch and them a little knot to secure everything.
Your first two pieces are now joined! If you look closely, you can just barely see the purple thread I used.
My next petal is ready to be sewn on. Be sure to sew the petal to the center piece, not the first petal! I always sew each petal to the center piece before stitching any petals together.
My next petal is ready to be sewn on. Be sure to sew the petal to the center piece, not the first petal! I always sew each petal to the center piece before stitching any petals together.
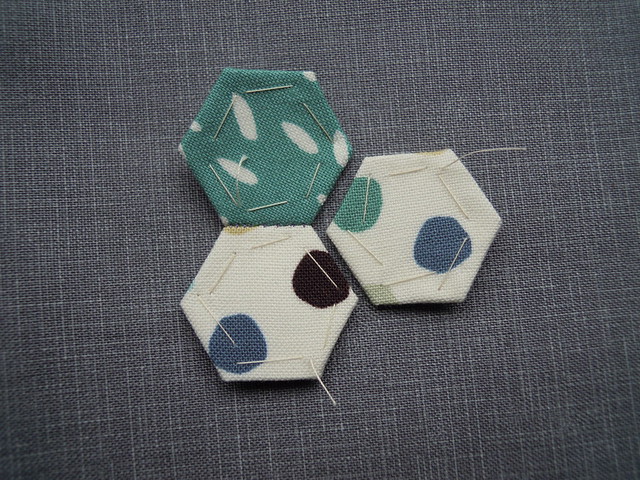
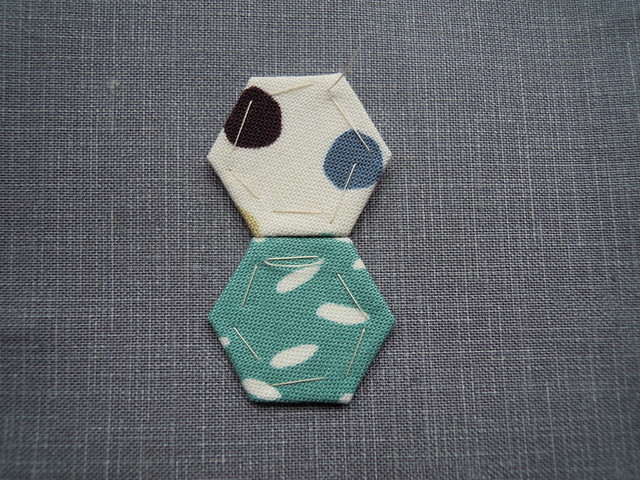
Once each petal is sewn to the center, you get this.

You're so close to being done, you just need to stitch the petals together. Turn your flower over to the paper side and line up two of the petals. You'll end up kind of folding your center a bit. I always start sewing at the center piece and work out. I sew this little seam exactly the same way as I sewed my petals to the center. Sew each petal to the one next to it.

Once your flower is pieced, you need to give it a good press. Use a dry iron for this, you don't need to add moisture and bend up your paper.
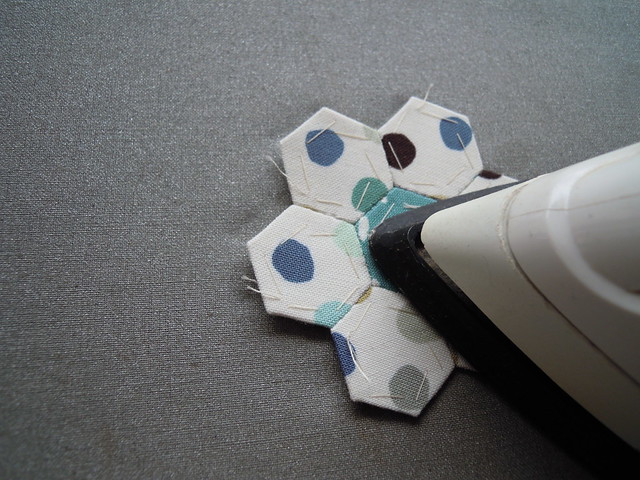
And I really do mean, a good press. Don't be afraid of using some heat and pressure. You want to see your hexagon imprinted in your ironing board cover when you're done! Oh, and guess what? You're done!!
Next week, I'll show invisible hand applique. Your basting stitches and papers will come out then.
I'm linking up with


I'm linking up with


LOVE the colors and fabrics! It makes a traditional style and makes it feel so modern. I've made hexies before, but never this little - wow!
ReplyDeleteI am so glad you showed this. I have been meaning to try hexies, and you just made them look sooo easy! Thanks. I think I will be stash busting with these soon.
ReplyDeleteGreat modern fabrics really give the little - um, tiny - hexi a nice look and your tute make them seem so do-able. I've only tried to make them while at a quilt show booth demo and was all thumbs. Maybe I'll do better without an audience of hundreds walking by.
ReplyDeleteLove the look of this with those modern fabrics, Katie. I've never done hexagons before but I have a project idea in mind so I'm sure I'll be back for that great tutorial!
ReplyDeleteThank you for the hexie tutorial! Just what I've needed to help me with figuring them out!! Can't wait to be able to try some...Thanks girl!
ReplyDeleteKatie, this is fantastic! I've been wanting to try hexagons, but they have that intimidating sewing mystique that makes me hesitate. No more hesitating! I'm going to give this a whirl sometime soon...
ReplyDeletethis is great!! thanks for sharing :)
ReplyDeleteSewing hexies have been on my to sewing to do list for a while now, I keep wanting to but the intimidation kicks in, I have to try soon now after seeing your post! thanks!
ReplyDeleteI love sewing with the Hexagons! Really like your fabric choice!
ReplyDeletelove the hexies they are tiny ...........just popped over for a look around !!
ReplyDeleteYou put a lot of effort into that tutorial!
ReplyDeleteA friend finally caught the quilt bug and decided the wanted to start with 1" hexie flowers, 3 to each quilt block....I made her press them with starch over a metal template, no paper.....seems to work for her even if it is not "right". I'm waiting for the quilt police, lol.
Love hexies! Looks great!
ReplyDeleteThank you so much for a such a clear tutorial.
ReplyDeleteLove for you to share it at my Linky Party - "Made by ME" Wednesdays here: http://www.jaqsstudio.com/2012/04/made-by-me-25-linky-party-and-features.html
Great tutorial...I love hexagons but have never tried paper piecing. Maybe now I will give it a try!
ReplyDeleteThis was an amazing tutorial. Thank you!! I love hand sewing but I have never tried anything like this before. I had heard about paper piecing but I really had no concept of what it really was...can you tell I don't quilt much:) I was wondering about the paper but I see you take it out later. I'm looking forward to part two.
ReplyDeleteyay!!!!!! Thank you, thank you, Katie!!! I'll let you know how it goes.
ReplyDeleteDid it!! I made one!! Turned out pretty cute! So I just ordered more templates :) Thanks for a great tutorial, now I need to make 4000 more to make some flowers!
ReplyDelete