

First things first, gather your supplies:
-co-ordinating colours of felt (I get mine from Wool Felt Central)
-embroidery floss
-glue or applique pins
-embroidery needle

Cutting:
-outside piece 4"x5" (light blue)-inside piece 4"x5" (dark blue)
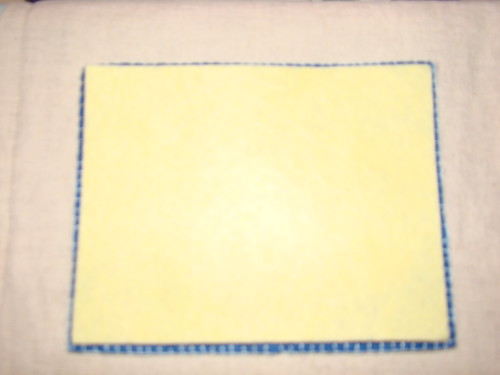
-needle page 3.75"x4.75" (yellow)
-header (dark blue)
-flowers (red)
-leaves (green)
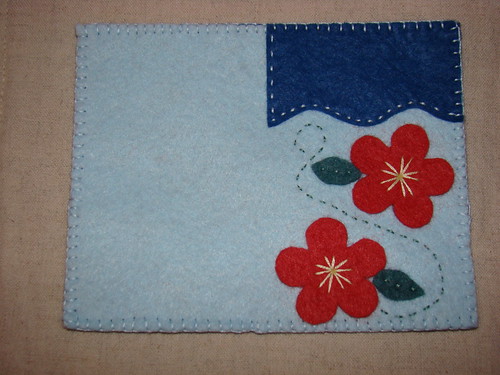
NOTE: I used a gift tag pattern from the book Fa la la la Felt as my cover design.
1- Cut a wave along the dark blue header piece and use either a dab of glue or pins to attach it to the upper right corner of the outside piece, Sew with a running stitch along the wavy edge and the left edge only.
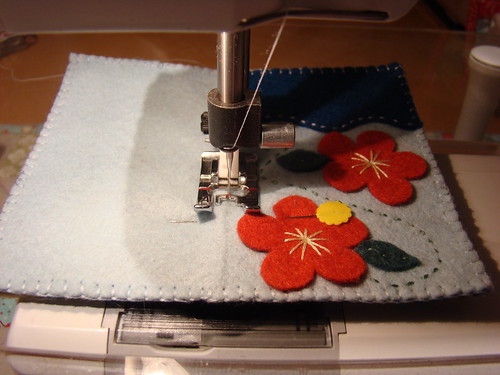
*terrible picture, I apologize, I didn't realize it until I'd gone a couple of steps ahead!*

2-Cut out your flowers. Since I used a pattern from a book I had a template to print and trace. Decide where you'd like the flowers and hold with glue or pins. Stitch down in a star pattern, it's meant to look like the stamen of a real flower.

3-Cut out your leaves and again glue/pin and stitch onto the cover.

4-Now it's time to add the vine. Stitch a meandering vine in the empty spaces. If you want to add any additional embellishment, now is the time to do it. French knots maybe? More vine? Words on the header?

5-Layer the outside and inside pieces, blanket stitch around the edge. I'm certainly not an expert blanket stitcher. If you need a tutorial, I used Futuregirl's
6-Next, place your needle page inside. Being cut a bit smaller, it will line up just inside your blanket stitching.
7-Fold your needlebook in half and mark a sewing line along the "spine". Sew along the spine of your needlebook, using a lockstitch at both the beginning and the end.
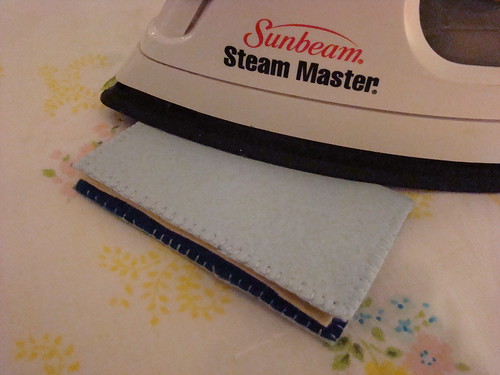
8- Press flat. Steam or don't, it's up to you.

9- Fold and press into a book. Again, steam or don't. I steam.
10- Voila! You have a cute little needlebook....or two!

No comments:
Post a Comment